Review: The Internal OWC Aura SSD Beefs Up The Storage In My MacBook
BrothaTech.com | August 30, 2016 | By Terrance Gaines
Original Article Link:
http://brothatech.com/review-the-internal-owc-aura-ssd-beefs-up-the-storage-in-my-macbook/
 I have a confession to make: When I purchased my mid-2014 Retina MacBook Pro, I went the cheap route and opted for only 128GB of internal storage. I know, I know...Hear me out. My thought process at time was:
- All the cloud sync/storage space I have will supplement my physical storage
- I will use a portable external drive for all of my large files (pictures, music & movies)
- I can always upgrade the internal drive whenever I want
A couple years and only 20GB of available internal storage space later, I was itching to find a way correct my mistake of not opting for more storage when I bought my Mac—I really need to listen to my own advice sometimes...
Some things I didn't take into account were: 1) Cloud sync/storage STILL eats into my internal storage capacity, 2) I ALWAYS forget to pack my external drive when I leave the house, 3) There were NO compatible internal Solid State Drives available for my particular Mac.
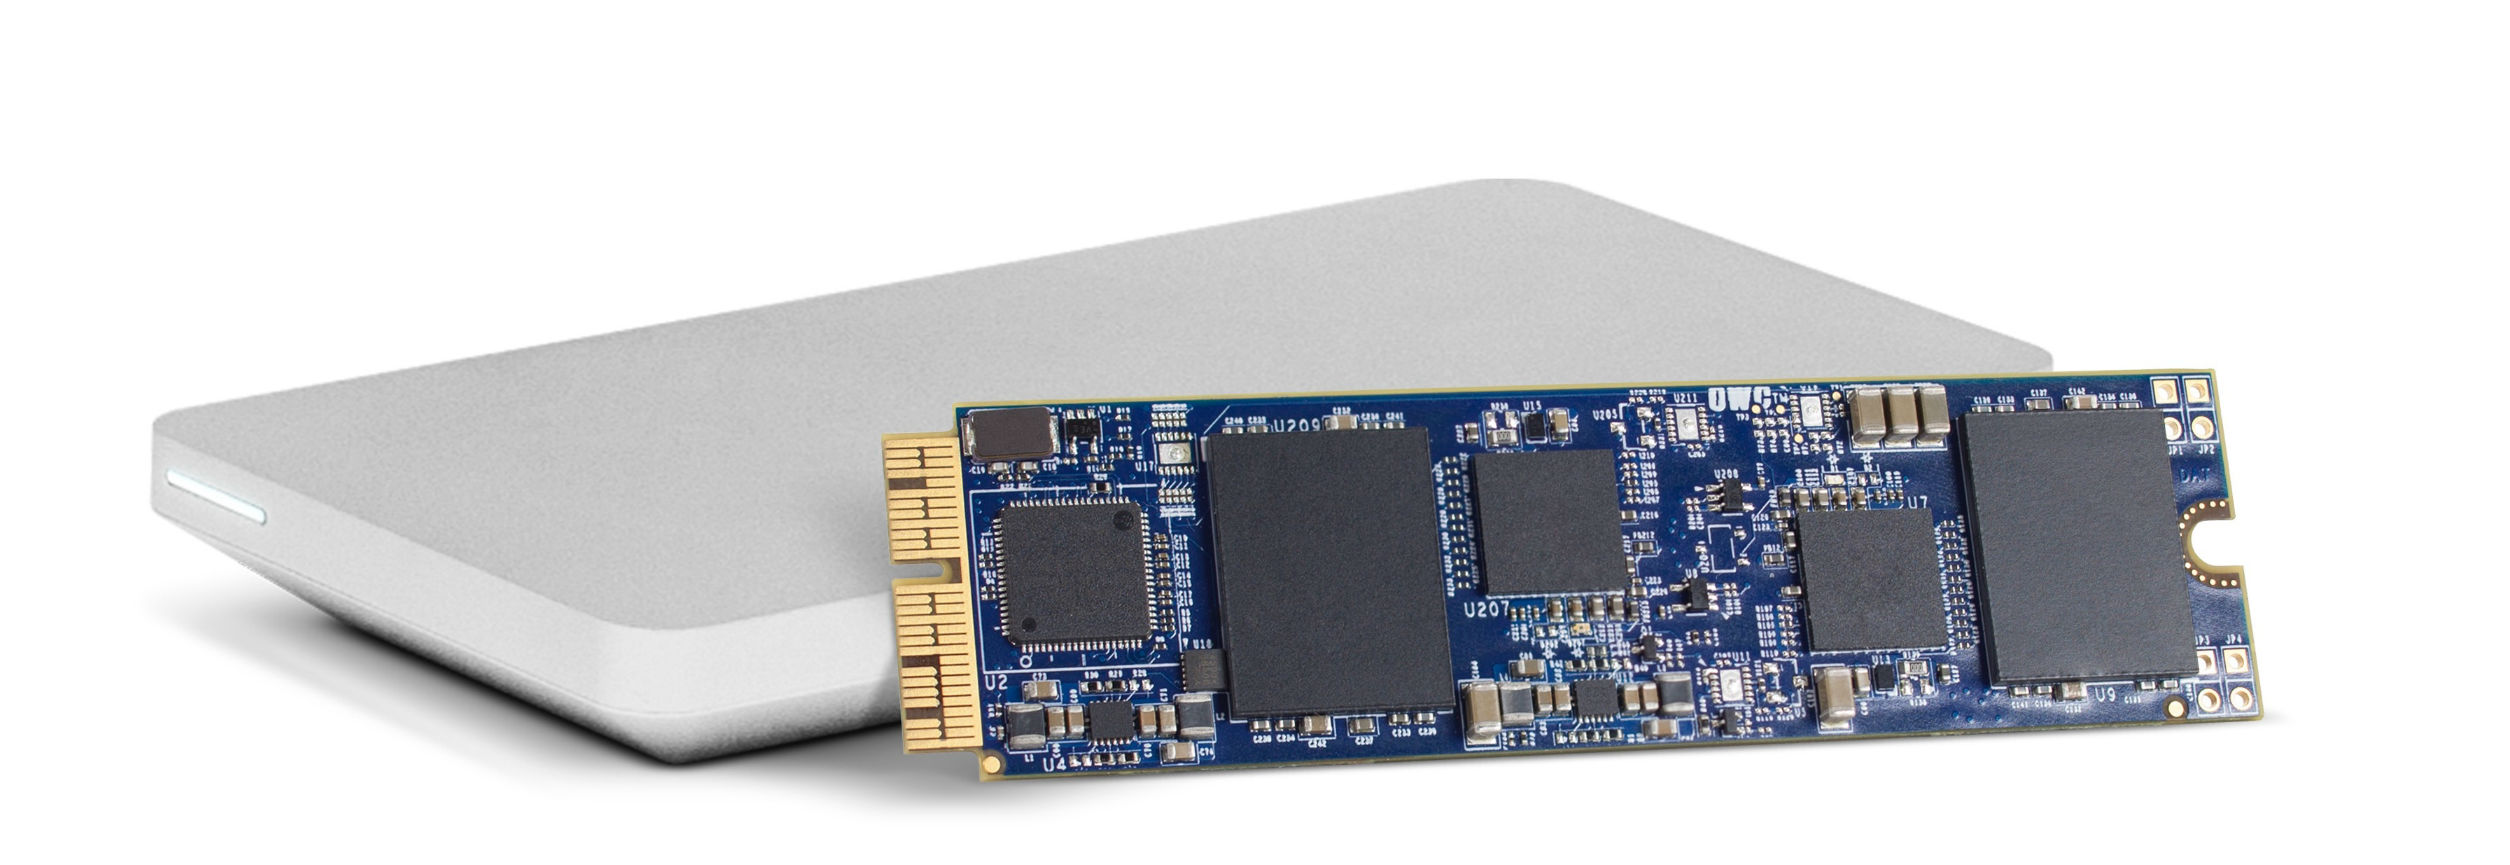
I've always been a fan/patron of Other World Computing and I've purchased and installed many internal drives for my Mac IT Support clients, as well as drives and Mac accessories for my personal and professional needs. Finally the folks at OWC built the Aura PCIe Flash Solid State Drive upgrade for my particular Mac earlier this year. So I stacked my chips, and jumped at the opportunity to upgrade my Mac.
Before You Buy
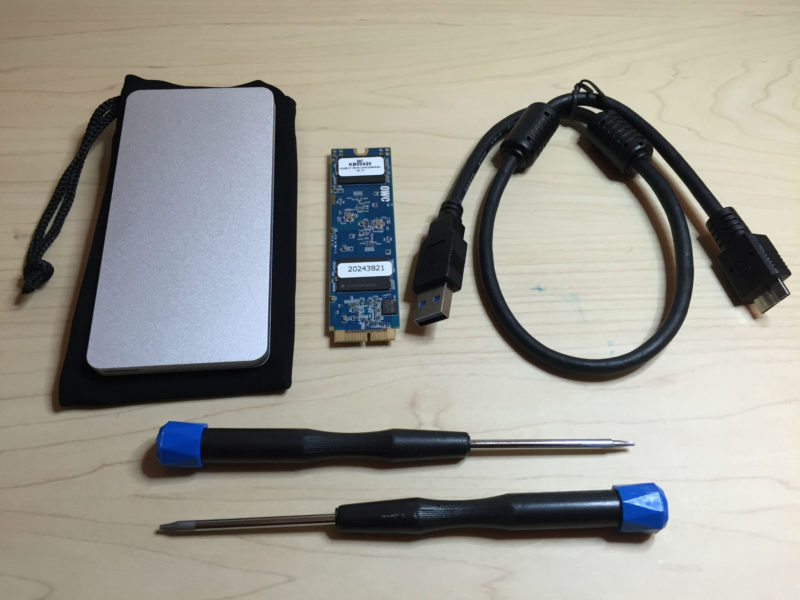
The OWC Aura SSD comes in three storage capacities: 240GB, 480GB and 1.0TB. I went with the 480GB version, which should be more than enough space *crosses fingers* and opted for the Upgrade Kit that included all the tools for the job, and an external drive enclosure for the original drive that was getting replaced.
The Aura drive works for Eligible models:
- MacBook Pro 15" with Retina display (Late 2013, Mid 2014, Mid 2015)
- MacBook Pro 13" with Retina display (Late 2013, Mid 2014, Early 2015)
- MacBook Air 13" (Mid 2013, Early 2014, Early 2015)
- MacBook Air 11" (Mid 2013, Early 2014, Early 2015)
Tip: Click the Apple icon in the Mac menu bar and select "About This Mac" to find out what Mac you have.
Preparation
BACK UP YOUR MAC! My Time Machine backup to an external drive served as my "get out of jail free card" just in case something happened. This isn't my first OWC drive swap—In the past, I've installed the new drive in the included external drive enclosure and cloned (copied, in laymen's terms) my old drive before doing the actual install. "Don't Do it! Reconsider! Read some literature on the subject..." OWC makes sure to let you know that the enclosure included in the OWC Aura SSD upgrade kit is specially made for the original Apple flash drive only. It's best to do the install first, then worry about data transfer afterwards.
Installation
I've done numerous drive swaps/upgrades for clients, but initally, I was a little shook this time around because it took so long for a 3rd-party company to build an internal drive for my particular Mac. I assumed this physical install was going to be super-complicated and require a bunch of OS (Operating System) rigging to complete the process. So I did my research and followed the OWC how-to-video for my Mac step by step.
Come to find out, the installation was super easy and consisted of:
- Removing the bottom plate (Don't lose any screws!)
- Disconnecting the battery
- Removing one screw
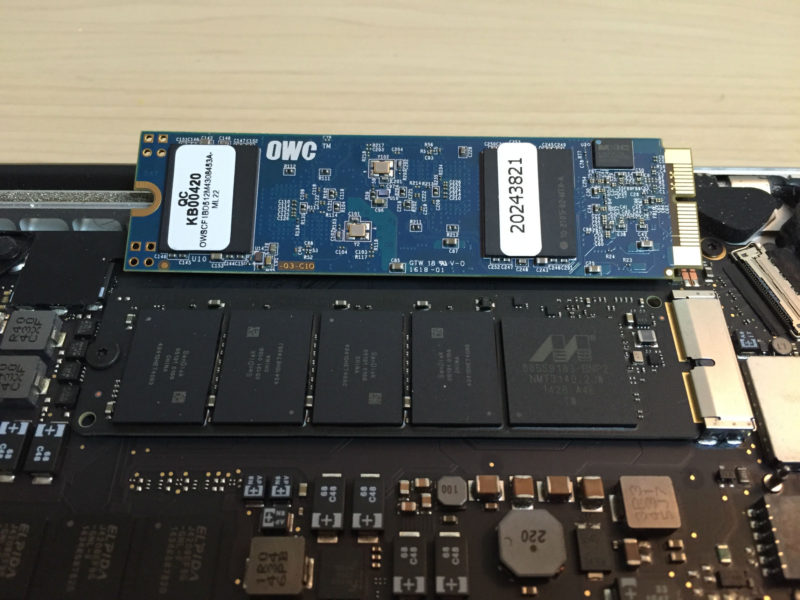
- Sliding the old drive out of the socket and replacing it with the Aura flash SSD
- Putting everything back in reverse-order
- Optional: I blew some compressed air over the internal components to knock out any collecting dust
The entire install process took about 20 minutes, including moving the original Apple drive to the included drive enclosure and didn't require taking my entire Mac apart, or messing with my operating system.
Data Transfer
Now the OWC Aura SSD is in my Mac and the original Apple drive is in the enclosure, now it's time to re-install your operating system via OS X Recovery, then migrate your data using Apple's Migration Assistant.
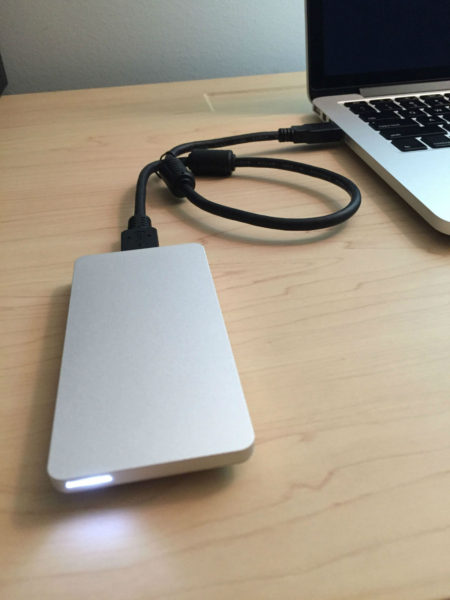
What works best for me is cloning my old drive to the new one by powering on my Mac and immediately pressing the "option" key until the Startup Manager appears. Then connecting the external drive using the included USB 3 cable to my Mac and waiting for it to recognize the old drive.
After the drive is selected, and when the Mac starts from the old drive, I download a cloning application like Carbon Copy Cloner to clone my entire drive. I like this route because there are less steps, and when the cloning is complete, I have an EXACT COPY of my old drive on the new one.
The only other install I needed was the optional OWC Dual Boot enabler. This download is specifically needed to take advantage of Apple's BootCamp that lets users install Windows on their Mac (yuck). Since Apple is "special", any 3rd-party drive installed in a Mac will appear as an external drive. The Dual Boot enabler fixes this so the new drive acts as an internal one.
Impressions

OWC was sure to mention that before-and-after benchmark tests will identify a slight drop in read/write speeds after this upgrade, especially if heavy graphics/video editing software are frequently used. Now there's a small part of me that shed one single tear knowing my baby is a teensy-bit slower if I put her up against a exact copy of my MacBook loaded up with an original 500GB flash SSD from Apple, but for average users (like me surprisingly...I HATE editing videos and Photoshop is THE Devil), the drop in speed isn't noticeable.
The only other issue (more of an nit-picky thing) I noticed is that after the install and OWC Dual Boot enabler download, I could NOT rename my new internal drive to the traditional "Macintosh HD". No biggie, but if somebody reading this could help a Brotha out and confirm that I can't change the drive name, I would appreciate it. With the help of OWC, 20 minutes and one download was all it took to finally add additional storage to my 13" Mid-2014 Retina MacBook Pro. Well, that's not all it took. The 480GB upgrade kit retails for $249.00 ( $299.00 drive only) and the 1.0TB upgrade kit is $448.88 ( N/A drive only). Pricing for 240GB drive/kit not available at time of post.
Sounds pricey I know, but at the time of this review, the Aura SSD is the only 3rd-party storage upgrade option for Macs in the above listing. Based on Apple pricing, to go from 128GB to 500GB natively costs approximately $500, so in the end, it was a blind gamble that eventually saved me a couple bucks.
Overall, I'm more than pleased with the OWC Aura SSD. Now that these new-fangled laptops are loosing their upgradability for the sake of ultra-slim and uber-sexy footprints, making the mistake of not paying for the additional storage right when I bought my MacBook was a decision I thought was going to haunt me forever.
The above article has been included on our site for archival purposes only. To see the article as it appeared in the original published form, click the link provided. All stories have been captured without modification to their content.